
how to check if a image is copyrighted: quick guide
So, you've found the perfect image online. Before you right-click and save, hold on a second. Using a picture without the right permissions can land you in some seriously hot water, ranging from a simple takedown notice to a demand letter with a hefty price tag.
The safest bet is always to assume an image is copyrighted unless you can prove otherwise. Think of it as your first line of defense against accidentally infringing on someone's work.
Your First Move: The Reverse Image Search
Your first practical step is to play digital detective with a reverse image search. This is where you upload the image (or paste its URL) into a search engine to see where else it lives on the internet. My go-to is Google Images, but TinEye is another excellent option.
Why is this so important? Because an estimated 2.5 billion images are stolen and used without permission every single day. That staggering number, highlighted in a global image theft report, shows just how widespread the problem is. A quick search can help you cut through the noise of reposts and find the original creator or a licensed source.
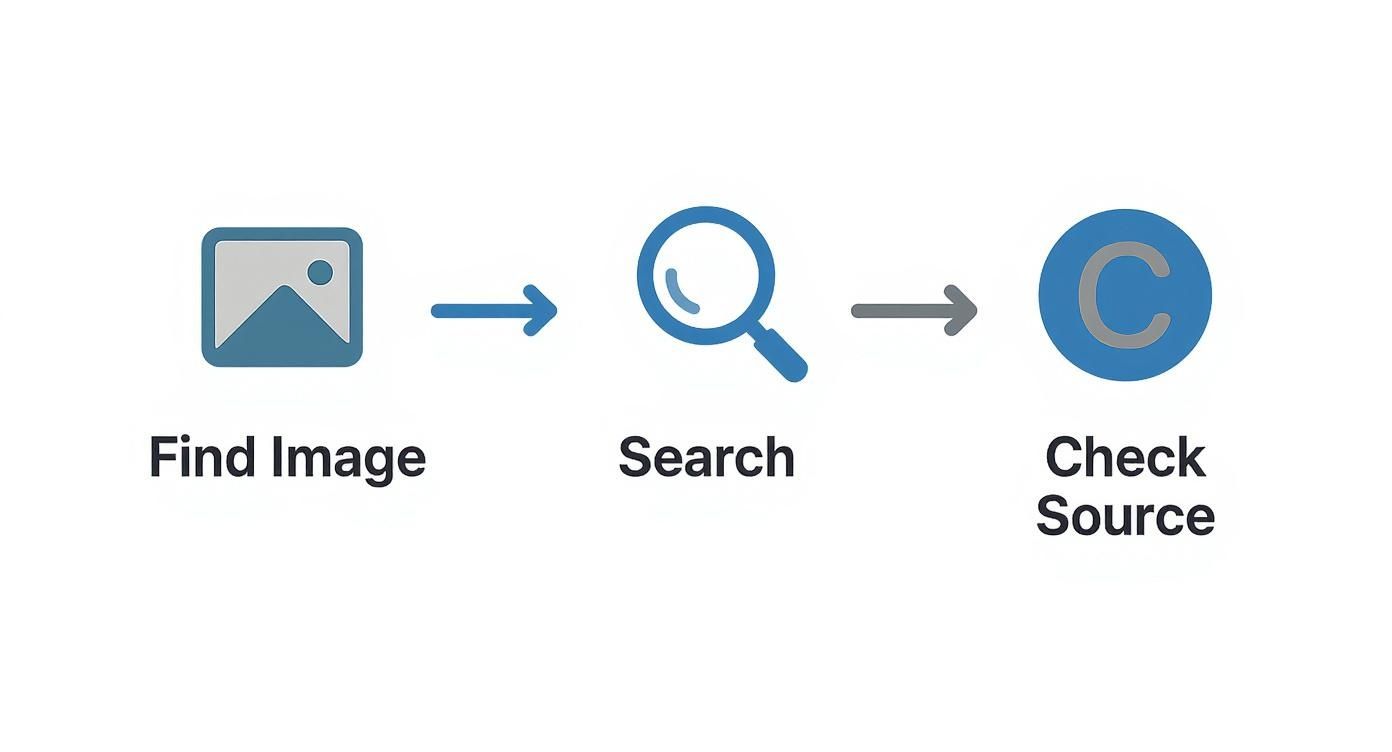
This workflow is simple but effective: find the image, search for its origins, and then dig into the source to uncover any copyright information.
How to Kick Off the Search
A reverse image search is your best tool for tracing an image back to its roots. It helps you see if it's part of a stock photo collection on a site like Adobe Stock or Getty Images, or if it belongs to a photographer's personal portfolio.
Here’s a quick rundown of some of the most accessible methods to get started.
Initial Copyright Check Methods
| Method | What It Reveals | Best For |
|---|---|---|
| Reverse Image Search | The image's online footprint, original source, and potential licensing info. | A universal first step for any image found online. |
| Watermark Inspection | A visible notice of ownership, often with the creator's name or company. | Quickly identifying professional photographers or stock photo agencies. |
| Metadata Check | Hidden data (EXIF) containing the creator's name, copyright notice, and usage terms. | Images downloaded directly from a photographer's site or a stock platform. |
These initial checks won't always give you a definitive "yes" or "no," but they provide crucial clues that will guide your next steps. They're quick, easy, and can save you a lot of trouble down the line.
My Personal Rule: Never, ever assume an image is free to use just because it doesn't have a visible watermark or copyright symbol. The law doesn't require it. The burden is always on you to verify you have the right to use it. A reverse image search is the non-negotiable first step in that process.
Using Reverse Image Search to Uncover an Image's Origins
Think of a reverse image search as your first and best move when you're trying to figure out where a photo came from. It's the quickest way to follow an image's trail across the web, cutting through the noise of reposts to find its original home. Lots of people know how to drop a photo into Google Images, but the real trick is knowing how to read the results to figure out who owns it.
This isn't just about finding copies. You're on a hunt for the first time an image was ever published online—a photographer's portfolio, a social media post from the creator, or an official listing on a stock photo website. It’s pretty common to find the same image on 50 different blogs, but usually, only one of those will point you back to the person who actually holds the copyright.
I ran into this myself not long ago. I found a great landscape shot on a travel blog and wanted to use it. A quick reverse image search gave me dozens of hits, mostly on other blogs and Pinterest boards with zero credit given. But after digging a bit, I found a link to a professional photography portfolio. Bingo. That was the source, and it had a clear "All Rights Reserved" notice right on the page.
Mastering the Search Process
To get started, you’ve got a few great options. Google Images is the big one, of course, but specialized tools like TinEye can be even better. TinEye is fantastic because it lets you sort results by the oldest date, which is a huge help in finding the very first time an image hit the internet.
Here’s a simple workflow that I use:
- Upload or Paste the URL: Just drag and drop the image file or paste its web address into the search bar.
- Find the Source: Google will show you similar-looking images. What you want is the “Find image source” button, which shows you every single page where that exact image lives.
- Analyze What You Find: This is where the real detective work begins. You have to sift through the results and ignore the content mills and Pinterest boards. Look for links that go to stock photo sites like Getty Images or Adobe Stock, personal photography websites, or a company's official page. These are almost always the original sources.
A professional photographer’s website or a stock photo platform will have clear, unambiguous licensing information. On the other hand, if an image only shows up on random blogs or social media feeds without any credit, that's a big warning sign. Your safest bet is to assume it's copyrighted and off-limits.
Advanced Reverse Search Tips
Once you're comfortable with the basics, a few small tricks can make you much more efficient. Browser extensions for Chrome and Firefox let you right-click any image you see online and start a reverse search instantly. It's a simple tool that saves a surprising amount of time.
A common mistake is to stop searching after finding just one potential source. You really have to check multiple pages of results. The original source is sometimes buried under pages of unauthorized copies, and if you give up too soon, you’ll miss the copyright info you need.
Also, keep an eye on image quality. The highest-resolution version is almost always the original. If your search turns up multiple sizes, the largest and clearest one is your best lead. As you investigate, it's also smart to question the photo's authenticity. Our guide on how to check if a photo is real can help you spot fakes or AI-generated images, adding another crucial layer to your due diligence.
Inspecting Watermarks and Image Metadata

Sometimes the clearest clues about an image's copyright status are hiding in plain sight. Before you jump into more technical searches, just take a good, hard look at the image itself for a watermark.
This is usually a semi-transparent logo or name placed over the photo. It’s a direct claim of ownership. If you spot a watermark from Getty Images, Adobe Stock, or a photographer's studio, you've found your answer—the image is protected. Think of it as a clear signal that you'll need a proper license to use it.
And a word of caution: never, ever try to digitally remove a watermark. That’s a deliberate act of copyright infringement and can land you in much hotter water legally.
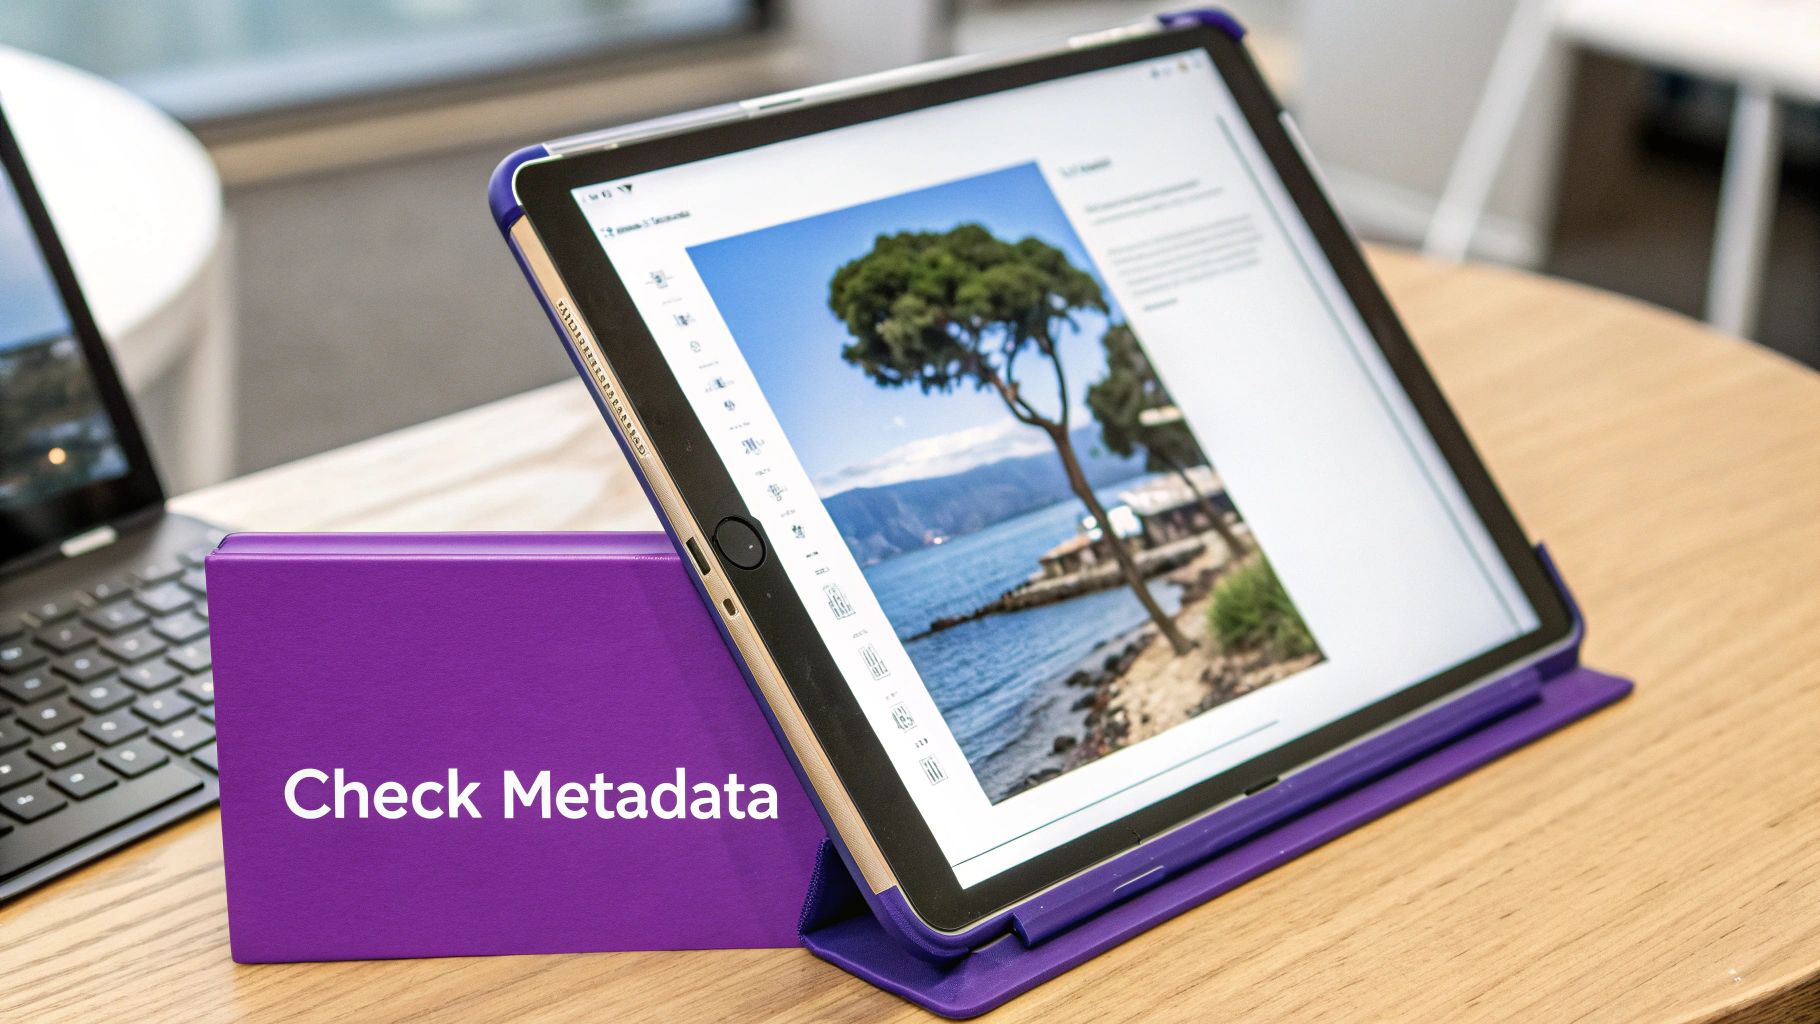
Digging Deeper into Image Metadata
What if there's no watermark? The next layer to peel back is the image's hidden data. Almost every digital photo carries metadata, which is basically text information embedded right into the image file. This data can be a goldmine for finding copyright details.
You'll generally come across two types of metadata:
- EXIF (Exchangeable Image File Format): This is the data your camera automatically records—things like shutter speed, aperture, and the date the photo was taken. Occasionally, the camera owner's name is saved here, too.
- IPTC (International Press Telecommunications Council): This is where you’ll most likely find the explicit copyright info. Photographers and agencies use this field to add their name, contact details, a copyright notice, and even specific terms of use.
This kind of embedded data is a huge deal. The global image copyright market was valued at $5.4 billion and is expected to hit $8.1 billion by 2035, partly because digital watermarking and metadata are becoming more common. You can read more about it in the image copyright market report.
How to Access Metadata on Your Computer
You don't need any fancy software to check for metadata; the tools are already built into your computer. For a complete walkthrough, check out our guide on how to check the metadata of an image.
But here’s the quick version for both major operating systems.
On Windows:
- Save the image to your computer.
- Right-click the file and choose "Properties."
- Click on the "Details" tab.
- Look for the "Origin" section, which often lists the author and copyright holder.
On a Mac:
- Open the image file in the Preview app.
- From the menu bar at the top, click "Tools" and then select "Show Inspector."
- A small window will pop up. Click the tab with an "i" in a circle, then click the "IPTC" tab to find any creator-added copyright details.
Keep in mind that metadata can be easily stripped out when an image is compressed or uploaded to social media. If you find these fields are empty, it doesn't mean the image is free to use. It just means this particular clue is missing, and you'll have to keep digging.
Searching Official Copyright Databases
When you’ve hit a wall trying to find licensing info and the stakes are high—we’re talking a major ad campaign, a book cover, or a commercial product—it's time to go straight to the source. Official registries, like the U.S. Copyright Office's public catalog, are the definitive records where creators formally register their work. This creates a public, legally recognized paper trail of ownership.
While an image is technically copyrighted the moment it's created, registration is a different beast. It's a formal step that gives the creator much stronger legal ground, especially if they need to file a lawsuit in the U.S. This means that while you won't find every copyrighted image in the database, the ones you do find have a clear, documented owner. It’s your best bet when you need absolute certainty.
Navigating the U.S. Copyright Office Catalog
To get anywhere with the official registry, you'll need a good lead. The search works best if you already have the photographer's name or the specific title of the image.
The U.S. Copyright Office website has a public search portal that's your gateway to these records.
This is where you can plug in keywords, names, or titles to sift through the registered works. Be prepared to be patient; you might need to try a few different spellings or variations of a name to strike gold.
If you do find a record, it will give you some solid details:
- The copyright claimant: The person or company who owns the copyright.
- The title of the work: The specific name of the image or collection.
- Date of registration: The exact date the copyright was filed.
This information is your next step. With the claimant's name, you can often track down contact information to formally request permission. The process can feel a bit old-school, but it's the most surefire way to verify an image's legal standing.
Registered vs. Unregistered Images: A Key Distinction
It’s incredibly important to understand this: an image does not have to be in this database to be copyrighted. In reality, the vast majority of images you find online are protected by copyright but have never been formally registered.
Don't make this mistake: The absence of a record in the U.S. Copyright Office catalog does not mean an image is in the public domain or free for the taking. It just means the owner hasn't gone through the formal registration process. You must still assume the work is protected unless you find a clear license that says otherwise.
Think of it like owning a car. You own it the moment you buy it, but the official title from the DMV is the public proof. Searching the copyright database is like checking the DMV records. If you can't find a record for a car sitting on the street, you can't just assume it's abandoned and drive off with it. The same logic applies here, making this search a powerful—but not exhaustive—tool in your investigation.
Contacting Creators for Permission
When all your digital sleuthing leads you to a specific photographer or artist, but the licensing details are nowhere to be found, your best bet is often the most direct one: just ask. This is where you shift from figuring out if an image is copyrighted to figuring out how to legally use it.
Reaching out directly is not only the safest legal route, but it also shows respect for the creator's work and can help you build good relationships within the creative community.
Your first hurdle is finding their contact details. Check their portfolio website, professional social media pages like LinkedIn, or even the image's metadata you inspected earlier. Once you have a name, you might need to figure out how to find content creator emails to send your request.
And don't underestimate the importance of this step. Creators are actively defending their work. Google alone has removed over 6 billion URLs from its search results due to infringement claims from more than 372,000 copyright owners. That statistic alone shows why it's so critical to get permission before you publish.
Crafting a Clear and Professional Request
When you finally sit down to write that email, make it as easy as possible for them to say "yes." A vague, unprofessional message is likely to get deleted without a second thought.
To get a quick and positive response, your message should always include:
- A direct link to the specific image you’re interested in. Don't make them dig around for it.
- A clear explanation of how you want to use it. Will it be in a blog post? A social media ad? Printed on a t-shirt? Be specific.
- What rights you’re requesting. Are you looking for one-time use or rights for an entire campaign?
Pro Tip: Go into the conversation expecting to pay a licensing fee. While some creators might grant free use for a good cause or an educational project (with credit, of course), professional work is how they make a living. Offering to pay shows you value their time and talent.
One last thing to keep in mind: make sure you're talking to the right person. Before you send that email, double-check that you've found the original creator and not just someone who reposted their work. Learning how to check images for authenticity is a vital part of this process.
Common Questions About Image Copyright
Navigating the world of image copyright can feel like tiptoeing through a minefield. Even when you're trying to do the right thing, it’s easy to get tangled up in confusing terms and widespread myths. Let's clear the air and tackle some of the most frequent questions that come up when you're trying to figure out if an image is safe to use.

Getting these concepts straight is the key to using images confidently and steering clear of simple but expensive mistakes. We'll break down what "public domain" and "fair use" actually mean for you in the real world.
What Is the Public Domain?
When an image is in the public domain, it's a creative free-for-all. You can use it, change it, or share it for any reason without asking for permission. This happens when the copyright has expired, the creator deliberately gave up their rights, or it was made by a U.S. federal government agency.
A huge misconception is that any old photo or any image missing a © symbol is up for grabs. That’s simply not true. Copyright protection lasts a long time—usually the life of the creator plus 70 years. So, unless an image is genuinely ancient or clearly marked as public domain (like with a CC0 license), it’s a big mistake to assume it's free to use.
Can I Use an Image if I Give Credit to the Creator?
This is probably the most dangerous and widespread myth about image use. Let's be crystal clear: adding a photo credit or linking back to the source does not give you the legal right to use a copyrighted image.
Think about it like this: you can’t just borrow your neighbor’s car and think it’s okay because you left a note on the dash saying, "Thanks, Bob!" The same logic applies here. Giving credit is fantastic—when you already have permission. But it's never a substitute for getting a proper license in the first place.
What Does Royalty-Free Really Mean?
"Royalty-free" does not mean "free of charge." This is a critical point that trips up a lot of people. It means you pay a one-time fee to license the image, which then allows you to use it multiple times under the agreed-upon terms without paying extra royalties for each use.
When you get a royalty-free image from a stock photo site, you're buying a license, not the copyright itself. These licenses still have rules you need to follow. They might limit how many times you can print the image or forbid you from using it on products you plan to sell. Always, always read the fine print of the license agreement.
How Does Fair Use Work?
Fair use is a legal concept that permits the limited use of copyrighted material without permission for specific purposes, like commentary, criticism, news reporting, and teaching. It sounds straightforward, but in reality, it's an incredibly complex and subjective legal defense, not a right you can just claim.
To determine if a use is "fair," a court would weigh four key factors:
- The purpose and character of the use (Is it commercial or educational? Did you transform the original?)
- The nature of the copyrighted work (Using a factual photo is more likely to be fair use than a highly creative piece of art).
- The amount of the work you used (A small thumbnail is viewed more favorably than the full, high-res image).
- The effect on the potential market for the original (Did your use prevent the creator from making a sale?).
Critical Takeaway: Relying on "fair use" to justify using an image is a massive legal gamble. Unless you have solid legal advice, it's far safer to find an image with a clear license than to roll the dice on a fair use defense. If you find your work has been used without permission, knowing the next steps, like the DMCA Takedown process, is essential for protecting your rights.
At AI Image Detector, we empower you to verify the authenticity of images, adding a crucial layer of diligence to your content strategy. Our tool helps you distinguish between human-created photography and AI-generated content, ensuring you know the true nature of the visuals you're working with. Check image origins with confidence at https://aiimagedetector.com.