
How to Check Metadata on a Photo A Practical Guide
The easiest way to check a photo’s metadata is to right-click the image file, choose Properties (on Windows) or Get Info (on macOS), and then look for a Details or More Info tab. This simple trick quickly shows you the camera model, settings, and date without needing any special software.
The Hidden Story Inside Your Digital Photos
Every digital photo you take carries a secret layer of information known as metadata. This isn't just dry technical data; it's a digital fingerprint that tells the story behind the shot—the specific camera used, the exact settings, and sometimes even the precise location where it was taken.
Whether you're a photographer wanting to replicate a great shot, a researcher trying to verify a source, or just curious about your own pictures, learning to read this data is an invaluable skill.

This embedded information comes in a few standard formats, and each one serves a different purpose. The first step to becoming a metadata pro is learning to tell them apart.
Common Metadata Types Explained
When you dig into a photo's details, you'll almost always run into three main types of metadata.
- EXIF (Exchangeable Image File Format): Your camera or smartphone generates this automatically. It’s packed with the technical nuts and bolts: shutter speed, aperture, ISO, camera model, and the lens you used. If you have location services turned on, it will also log GPS coordinates.
- IPTC (International Press Telecommunications Council): This standard is all about descriptive information. Photographers and editors often add it manually to include things like headlines, captions, keywords, and crucial copyright details.
- XMP (Extensible Metadata Platform): Developed by Adobe, XMP is a newer, more flexible format. It can store a huge range of data, from edit history and star ratings to custom tags you create yourself. It’s designed to work alongside EXIF and IPTC data, all within the same file.
The idea of embedding data in photos has been around for decades. The IPTC actually first defined metadata attributes way back in 1979. This framework got a major boost in 1994 when Adobe Photoshop adopted what became known as IPTC headers, making it easy to embed rich data directly into image files. You can discover more about this history and the timeline of metadata standards on photometadata.org.
Key Takeaway: Think of EXIF as the technical story of how the photo was made. IPTC and XMP, on the other hand, tell the descriptive and administrative story—what the photo is about and who owns it. Checking all three gives you the full context.
Checking Photo Metadata on Your Desktop
You don't need to hunt for specialized software just to get a peek at a photo's hidden data. Your computer’s operating system—whether it’s Windows or a Mac—has everything you need to get started. It’s usually the first place I look before turning to more advanced various desktop applications.
Let's walk through how to find this information right on your desktop. The process is surprisingly simple and unlocks a ton of detail about where your images came from and how they were made.

Uncovering Details in Windows
If you're on a Windows machine, the Properties menu is your best friend. Just find the image file, right-click it, and select "Properties" from the dropdown menu.
A new window will pop up. From there, navigate to the Details tab. You'll see a long, scrollable list of data points broken down into helpful categories like "Origin" and "Camera." This is where you can find out the exact time a photo was taken or check the shutter speed used for that perfect action shot.
Finding Information on macOS
On a Mac, you have a couple of easy options. The quickest way is right inside Finder. Just click on the image file once and press Command + I (or right-click and choose "Get Info").
In the little window that appears, look for the "More Info" section and expand it. This gives you a great overview, including the camera model, lens used, and image dimensions.
Need to dig a bit deeper? Open the image in the Preview app. Head up to the "Tools" menu in the top bar and click "Show Inspector" (the shortcut is, again, Command + I). This inspector panel is far more detailed, with specific tabs for different metadata types like EXIF and IPTC.
This built-in EXIF data is the technical story of your photo. Standardized way back in 1995, the Exchangeable Image File Format was created to embed all those critical camera settings. By 1998, the standard was updated to include GPS support, which fundamentally changed how we track and organize our visual memories.
Pro Tip: In the macOS Preview Inspector, keep an eye out for the GPS tab. If the photo was taken on a phone or camera with location services turned on, you’ll often find a little map showing the exact spot where the shutter was pressed. It’s a fantastic tool for retracing your steps after a vacation.
Built-in Metadata Viewers Windows vs macOS
While both operating systems give you access to photo metadata, their approaches and the depth of information readily available can differ. Here's a quick side-by-side comparison.
| Feature | Windows (File Explorer) | macOS (Finder/Preview) |
|---|---|---|
| Access Method | Right-click > Properties > Details tab | Finder: Cmd + I > More Info Preview: Cmd + I > Inspector tabs |
| Data Presentation | A single, long, scrollable list | Finder shows basic data; Preview offers organized tabs (EXIF, GPS) |
| Editing Capability | Allows direct editing and removal of some fields | Basic editing in Photos app; Preview is view-only |
| GPS Data Display | Shows latitude/longitude coordinates as text | Preview's Inspector displays a visual map if GPS data exists |
| Ease of Use | Straightforward and consolidated in one place | Two-tiered approach (quick look vs. deep dive) gives flexibility |
Ultimately, both systems get the job done for a quick check. Windows is arguably more direct by putting everything in one list, but I find the tabbed inspector in macOS Preview much easier to navigate when I'm looking for something specific, like location data.
Checking Photo Metadata on Your Phone and Online
Your smartphone is a metadata-generating machine. Every snapshot you take is packed with the same kind of rich data you'd find from a dedicated camera, and it’s surprisingly easy to access, whether the photo is saved to your phone or you find it on the web.
Most modern phones bake this functionality right into their native photo apps. On an iPhone, for instance, you can see a ton of information just by swiping up on a picture or tapping the little "i" (info) icon.

Looking Up Metadata on Your Phone
The steps for viewing a photo’s hidden data are pretty consistent no matter what device you’re on. The built-in photo gallery is almost always the place to start.
On an iPhone, the native Photos app gives you a solid overview. Just swipe up on any photo and you’ll instantly see:
- Date and Time: The exact moment the photo was taken.
- Location Map: A handy little map showing where you were, assuming you had location services turned on for the camera.
- Camera and Lens Info: The specific iPhone model, along with the aperture, shutter speed, and ISO settings the camera chose for that shot.
Android users have a nearly identical feature inside Google Photos. Open a picture, tap the three-dot menu, and hit "Details" (or just swipe up) to pull up a full list of its EXIF data. Some manufacturers, like Samsung, also include this in their own custom gallery apps.
Privacy Check: It's worth remembering that if your camera has permission to use your location, your exact GPS coordinates are embedded in every photo. While great for organizing your vacation pictures, this can become a serious privacy issue if you share the original, unstripped image file online.
How to Check Photo Metadata Online
What if you need to check an image you found online without having to download it first? That's where web-based metadata viewers are incredibly useful. These sites let you either upload a file directly or just paste the image's URL to instantly reveal its embedded data.
Many of these online tools use technologies like the JavaScript programming language to process the image information right in your browser. It’s a fast and generally secure way to get a look under the hood.
Here are a few reliable online viewers I've used:
- Jimpl Online: A clean, no-fuss tool. You can upload a file or paste a URL, and it displays the data in simple, organized tables.
- Metadata2Go: This one is a powerhouse. It supports a huge variety of file types, not just images, and gives you an extremely detailed breakdown of every bit of data it can find.
- EXIF Data Viewer: As its name implies, this site is laser-focused on EXIF data from photos, and it does a great job of presenting the information clearly.
A word of caution: always be mindful of privacy policies when using these services, especially with sensitive images. Most reputable sites process your files on the fly and don't store them, but it never hurts to check their terms before uploading something personal.
Taking a Deeper Dive with Advanced Tools
Sometimes, the basic file properties just don't cut it. When you need to go beyond the surface-level details, it's time to bring out the heavy hitters. For anyone doing serious verification work—think journalists, digital forensics analysts, or even professional photographers—a much deeper look is essential.
Specialized tools can pull out every last scrap of information embedded in an image file. We're talking about data that standard viewers completely overlook, like the camera's unique serial number, the exact software version used for editing, or even the shutter count.
The Powerhouse: ExifTool
When you need the most comprehensive analysis possible, the gold standard is ExifTool. It's a free, command-line tool that can read, write, and manipulate metadata in an incredible number of file types. Don't let the command line scare you off; its basic use is surprisingly simple and the level of detail it provides is unmatched.
Once you have it installed, just open your terminal or command prompt and run a simple command: exiftool your-photo-name.jpg. In seconds, you'll get a clean, organized list of every single metadata tag found in the file, from basic camera settings to obscure notes from the manufacturer.
The sheer number of supported file types and tags on the ExifTool homepage shows just how powerful this utility is.
A Pro Tip From Experience: One of the first things I always check with ExifTool is the difference between the
CreateDate(when the photo was originally shot) and theModifyDate(the last time the file itself was saved). If there's a big gap between those two timestamps, it’s a huge red flag that the image has likely been edited or altered.
Friendlier Options: GUI-Based Viewers
Not a fan of the command line? No problem. There are plenty of great applications that use the powerful ExifTool engine but wrap it in a user-friendly graphical interface (GUI). You get all the same detailed information, just presented in a more visual way with clickable menus and organized panels.
Here are a few solid choices:
- ExifToolGUI for Windows: A simple graphical front-end that lets you run ExifTool commands with the click of a button. It's a great starting point.
- AnalogExif: This is a fantastic cross-platform tool (Windows, macOS, Linux) for both viewing and editing metadata, especially if you're working with large batches of photos.
- PhotoMechanic: A favorite among photojournalists for a reason. It's incredibly fast for culling images and has some of the most robust metadata editing features you can find.
These tools are indispensable for any serious verification workflow, particularly when you suspect an image has been manipulated. A thorough metadata check perfectly complements other verification methods, which is why we've also put together a guide on how to detect AI-generated images that dives into these techniques. Mastering these tools gives you the power to uncover the full story behind a photo, offering a level of certainty that a simple properties panel never could.
Using Metadata to Verify a Photo's Authenticity
https://www.youtube.com/embed/FcLxm7lPEZ8
Beyond just the technical details, a photo's metadata acts as a digital paper trail, leaving behind crucial clues about its origin and history. In an era where doctored images can go viral in minutes, knowing how to follow these clues is a vital skill. By analyzing this hidden data, you can uncover inconsistencies that help determine whether an image is the real deal.
Think of it as digital detective work. Let's say you come across a powerful image supposedly from a recent protest. A quick check of the metadata for GPS coordinates or timestamps can either back up its story or completely debunk it. A mismatch between what the photo shows and what the data says is often the first red flag that something is off.
Spotting Telltale Signs of Tampering
One of the most common signs of manipulation is a conflict between different timestamps embedded in the file. For example, if the original creation date is years earlier than the "date modified," it's a strong signal that the image has been altered at some point after it was taken.
Another dead giveaway is the presence of software tags. Keep an eye out for fields like "Software" or "Creator Tool" in the metadata. If you see an entry like Adobe Photoshop or GIMP, you have direct confirmation that the image has passed through editing software. This doesn't automatically mean it's fake, but it certainly calls for a closer look.
This diagram can help you decide when a simple, built-in viewer is enough and when you need to bring in a more powerful tool for a deeper investigation.
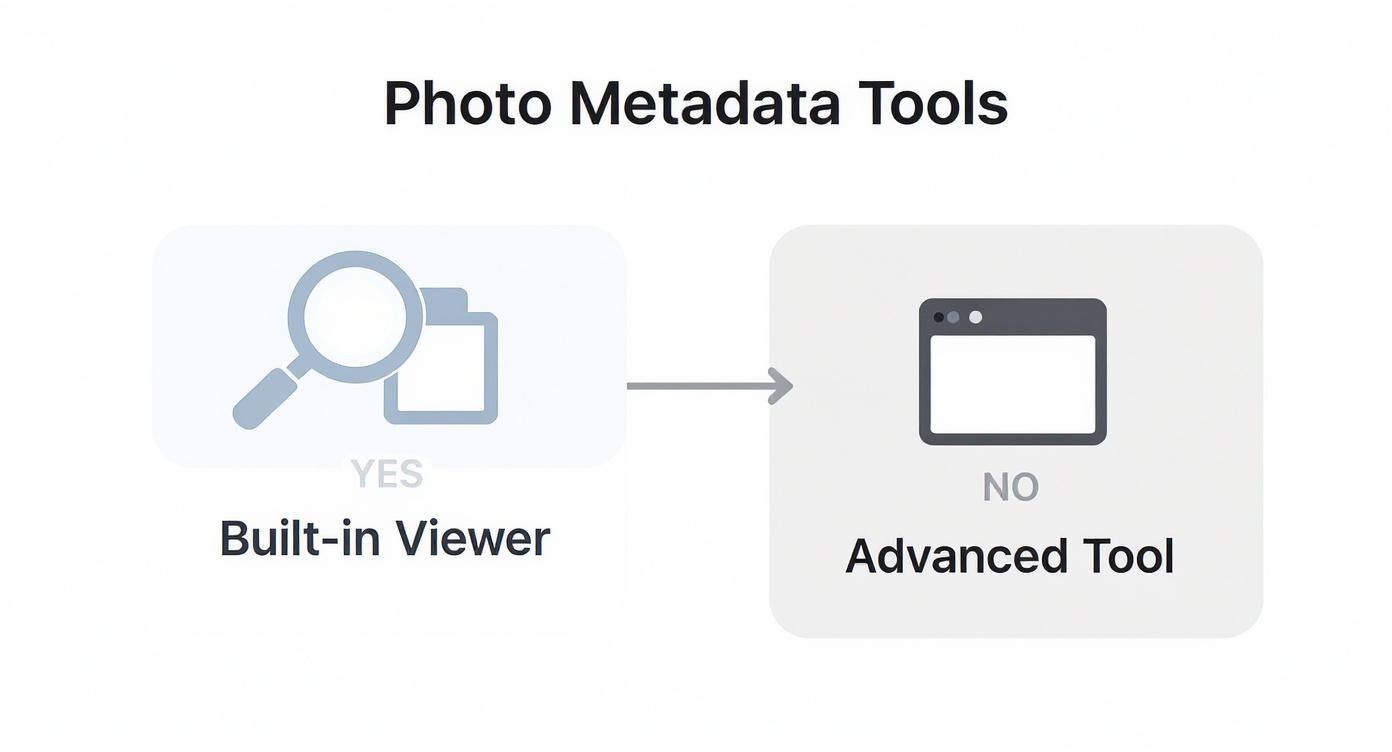
The main takeaway here is that for a quick look at basic info, your device's built-in tools are fine. But for any serious authenticity checks, you'll need to use specialized software.
Missing Metadata Can Be a Clue
Sometimes, the most telling clue is what isn't there. A complete lack of metadata can be a huge warning sign. While it's possible for some cameras to disable data capture, it's far more likely that the metadata was stripped out on purpose.
Be extra cautious with images that have no metadata at all. Many social media platforms, including Facebook and Instagram, automatically strip most EXIF data when photos are uploaded to protect user privacy. An image saved from one of these sites will be missing its original data, making its source much more difficult to trace.
This common practice adds a layer of complexity to verification, but it's a clue in itself. If someone sends you an image and claims it's the "original file," but it has zero metadata, you have every reason to be skeptical. This is a crucial part of learning how to check if a photo is real and protect yourself from misinformation.
The world of metadata analysis is also evolving. For historical photos that predate digital data, AI is now being used to estimate when they were taken. New tools can analyze visual cues—like clothing styles and car models—to assign a probable date, which can then be added to the photo's metadata. This is a game-changer for historians and genealogists trying to place old family photos in the correct time period. You can read more about how AI is dating old photos on the MyHeritage blog.
Common Questions About Photo Metadata
Once you start looking at photo metadata, a few questions almost always pop up. It's totally normal—the details can get a little complex. Let's walk through some of the most common things people run into when they first start digging into their image files.
We'll cover what it means when data is missing, the unfortunate truth about fake metadata, and how you can take control of your own digital privacy.
What if There Is No Metadata on a Photo?
Finding a photo with absolutely no metadata can feel like a dead end, but it happens all the time for a couple of key reasons. The photographer might have intentionally scrubbed the data before publishing it—a common practice for professionals looking to protect their privacy or their unique camera settings.
But there's a much more frequent culprit: social media.
- Platforms like Facebook, Instagram, and X (formerly Twitter) automatically strip most EXIF data from images when they're uploaded. They do this to protect user privacy, so strangers can't see the exact GPS coordinates where a photo was taken.
- When you download an image from one of these sites, you’re getting that clean, scrubbed version. If you need the original metadata, you have to get the file directly from the person who took it.
Key Takeaway: Missing metadata isn't automatically a red flag, but it does mean you've lost a huge layer of context. If you're trying to verify an image's origin, a total lack of data should definitely make you pause and look a bit deeper.
Can Photo Metadata Be Faked or Edited?
Yes. One hundred percent. Metadata might feel official because it’s generated automatically by your camera or phone, but it’s completely editable. Anyone with a tool like ExifTool can easily change, add, or delete any piece of information in an image file.
For instance, someone could change the GPS data to make a photo taken in their backyard look like it was snapped on a different continent. They could also edit the creation timestamp to make a years-old picture seem like it was taken yesterday. This is exactly why you should treat metadata as a clue, not as gospel. It's strong evidence, but it needs to be backed up by other information when authenticity is on the line.
How Do I Protect My Own Privacy?
After seeing just how much information a single photo can hold, you’re probably thinking about your own files. The good news is that you have full control here. Before you upload pictures online—especially to places that don't automatically remove metadata, like a personal blog or some forums—it's a smart move to clean them up yourself.
Both Windows and macOS offer built-in ways to remove personal information right from the file's properties panel. If you want to be extra thorough, a dedicated metadata removal tool will do an even better job. It’s a simple step that can stop you from accidentally sharing your home location or other private details with the entire internet.
On the flip side, understanding metadata is key to respecting other people's work. When you find an image online, checking its data can often reveal copyright and usage information. It’s a big part of learning how to check if an image is copyrighted and making sure you’re using digital content ethically.
When you're trying to verify an image, metadata gives you crucial clues, but modern AI-generated fakes often have no data trail at all. For a truly comprehensive check, you need AI Image Detector. Our tool is designed to analyze images for the subtle, technical artifacts left behind by AI models, delivering a clear verdict in seconds. You can confidently tell the difference between human and AI creations. Check your first image for free.


