
Your Guide to Using an Image Copyright Checker
Using an image you don't have the rights to can land you in some seriously hot water, both legally and with your brand's reputation. Think of an image copyright checker as your first line of defense. It's a process that helps you dig into a picture's backstory, figure out its license, and ultimately decide if you can use it without getting a nasty surprise later.
Why You Need a Copyright Check in Your Workflow

We've all been there. You find the perfect image for a blog post or an ad. It’s polished, professional, and seems to be all over the internet, so you figure it must be safe to grab. That’s a risky assumption. I've seen too many people get burned when copyright infringement letters show up demanding thousands of dollars for a single image.
Trying to manually check every single image you use is a nightmare. It’s just not practical. There's so much content out there, and tracing a photo back to its creator can feel like a fool's errand. Now, throw AI-generated images into the mix. These often have no clear human author, putting their legal status in a gray area and creating a whole new set of risks.
It's About Protecting Your Brand and Your Bank Account
A solid image checking process isn't just about dodging lawsuits; it's about protecting your brand's integrity. When you use an image without permission, it sends a message that you don’t value creative work. That can seriously damage the trust and credibility you've worked so hard to build.
Putting a clear verification process in place shows you're a professional who respects intellectual property. It's a simple, proactive habit with some big payoffs:
- Risk Mitigation: Drastically cuts down your chances of getting hit with an expensive copyright claim.
- Brand Safety: Ensures your brand isn’t tied to stolen or misused creative work.
- Operational Efficiency: Gives your team a reliable, repeatable system, which saves time and prevents mistakes.
Think of it like this: a copyright check is a form of insurance for your content. It’s a small investment of time upfront that can save you from massive financial and reputational headaches down the line.
Making Sense of the Modern Visual World
These days, the lines between original photos, stock images, and AI art are blurrier than ever. Pictures get shared, reposted, and re-uploaded across dozens of platforms, often losing their original context and metadata along the way. This chaos makes it incredibly hard to know who owns the rights and what you're allowed to do with an image.
Using an effective AI Copyright Checker tool is becoming non-negotiable for managing your digital assets and staying compliant.
This guide will walk you through a simple workflow to help you figure out an image's copyright status with confidence. Whether you're a marketer, a creator, or a small business owner, these are the steps you need to take. Consider this your playbook for keeping your work clean and protected.
Starting Your Search with Technical Tools
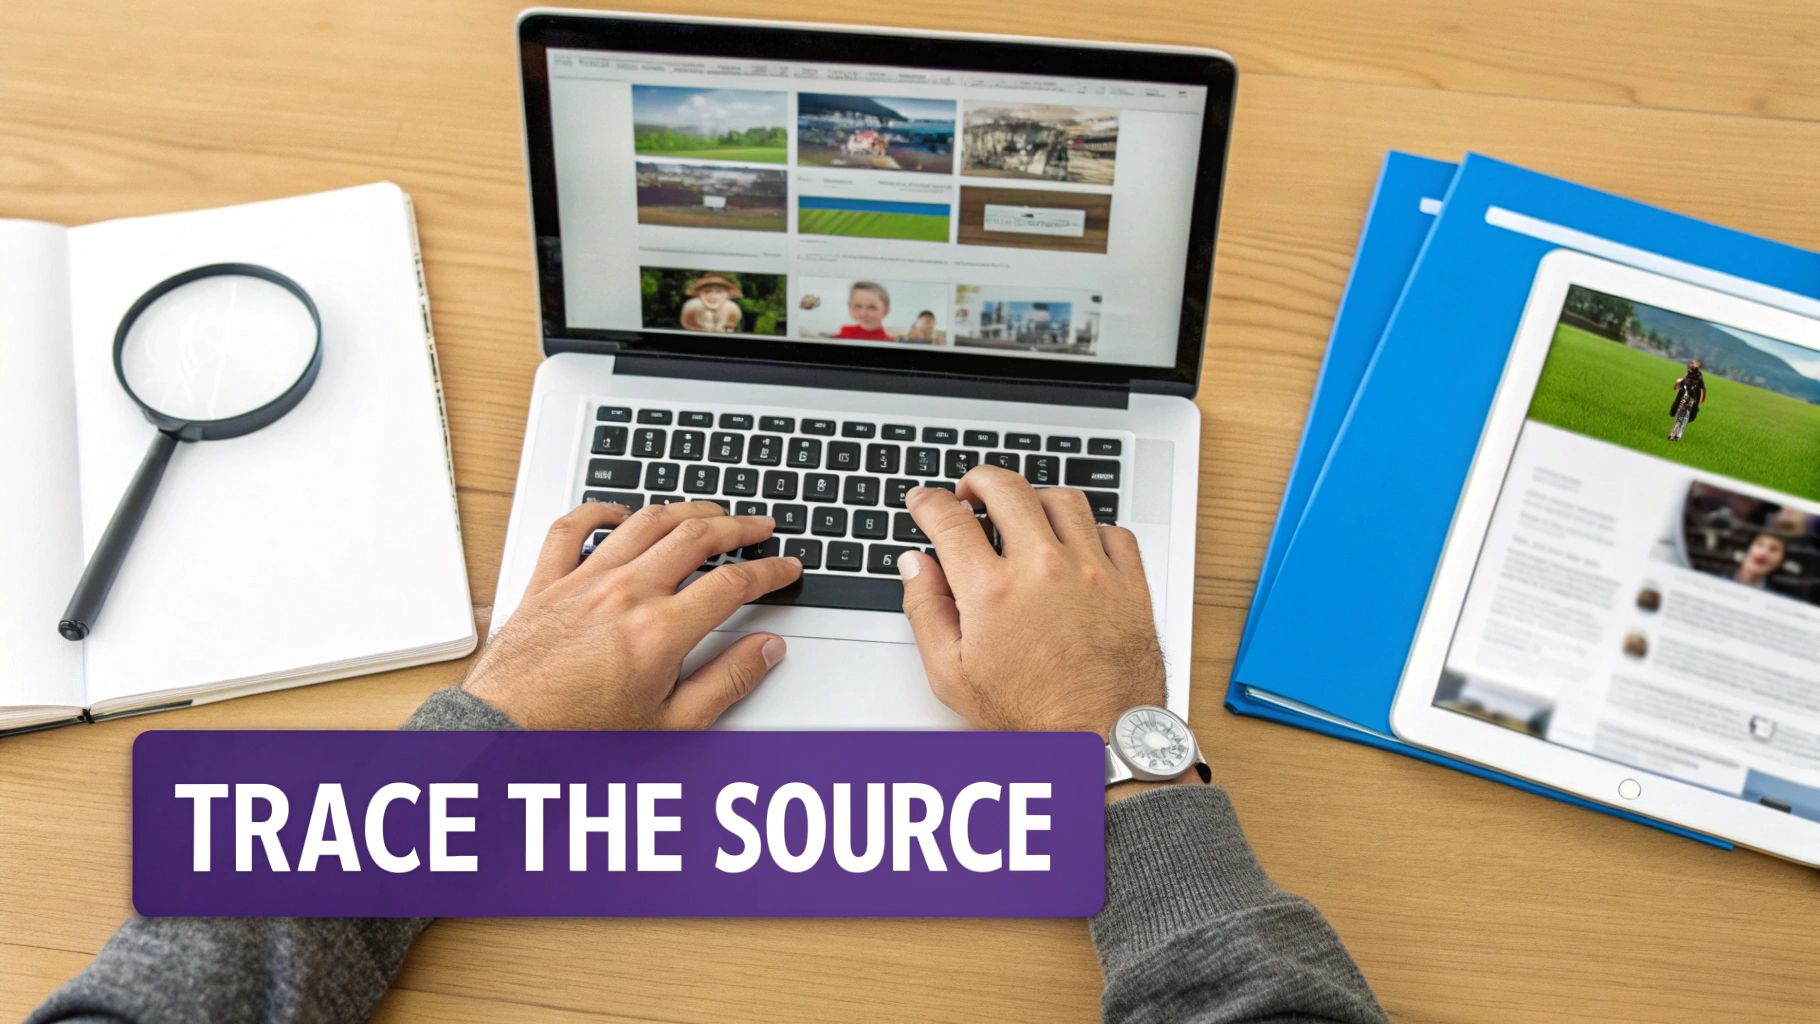
Before you can figure out an image’s copyright status, you have to do a bit of digital detective work. The first move is always to fire up a few technical tools to see what breadcrumbs you can find. These initial checks are the foundation of the whole process—they give you the crucial clues you’ll need for everything that follows.
Your best friend here is the reverse image search. Instead of typing in keywords, you upload the image itself, and the search engine scours the web for everywhere that picture has appeared. This isn't just about finding duplicates; it's about tracing the image's history back to its source.
Uncovering an Image's Digital Footprint
The main goal is to find the earliest place the image was published online. Think about it: a photo that first showed up on a professional photographer's portfolio back in 2018 is a much more reliable lead than the same image posted on a random Pinterest board last week. The older the source, the closer you probably are to the original creator.
To get started, here's a quick comparison of the best tools for the job.
Comparing Top Reverse Image Search Tools
I always recommend starting with more than one tool. Each has its own strengths, and using a couple of them gives you a much fuller picture of an image's history online.
| Tool | Key Feature | Best For |
|---|---|---|
| Google Images | Its massive index finds the image on all sorts of sites—blogs, news articles, social media, you name it. | Casting a wide net to see the breadth of an image's use and the different contexts it appears in. |
| TinEye | Specializes in sorting results by date and tracking how an image has been modified over time. | Pinpointing the oldest indexed version to zero in on the original source with impressive accuracy. |
My personal workflow is to run an image through both. Google Images shows me how widely it's been used, while TinEye is my go-to for drilling down to its origin. As you sift through the results, pay close attention to the publication dates.
Pro Tip: Don't stop at the first page of results. You often have to dig. The original source can easily get buried under pages of reposts and content farms. Always use the "Sort by Oldest" filter to bring the earliest versions right to the top.
Mastering this skill is essential. If you want a deeper dive, our guide on how to do an AI reverse image search covers even more advanced techniques.
Digging into Digital Metadata
While a reverse image search tracks the image's journey across the web, its metadata tells you the story from inside the file. Metadata (often called EXIF or IPTC data) is information embedded directly into the image. It's like a digital name tag.
This data can hold a goldmine of clues. You can view it using free online tools or even with the "Properties" or "Get Info" function right on your computer.
Here’s what to look for:
- Author/Creator: This is the jackpot. If a photographer or artist's name is here, your search just got a lot easier.
- Creation Date: This gives you the exact date the photo was taken, which is great for confirming what you found in your reverse image search.
- Copyright Notice: Sometimes it's spelled out for you, with a clear notice like "© 2024 Jane Doe" or a link to a portfolio.
- Camera Information: Details like the camera model can help you gauge whether the image came from a professional.
A word of caution, though: metadata isn't always reliable. It can be easily stripped away, and many social media sites do this automatically to save space. So, if there’s no metadata, it doesn’t automatically mean the image is free to use.
But when it is there, it’s some of the best evidence you can find. Finding a name in the creator field gives you a direct lead to follow, setting you up perfectly for the next step of verifying the license.
How to Verify Licenses and Identify the True Source
So, you've run a reverse image search and maybe even dug into the metadata. You've got a name, a website, or a clue about where an image first appeared. Now the real detective work begins.
Having these initial clues is one thing; knowing what they mean for your usage rights is another. This is where you move past the technical checks and start making a confident legal assessment.
Finding an image on a blog or a social media feed is just the start of the breadcrumb trail. The goal is always to trace it back to the definitive source—the photographer’s own portfolio, a legitimate stock photo agency like Getty Images, or an official archive. So many people get led astray by unreliable sources.
Think of platforms like Pinterest or random image aggregator sites as digital echoes. They show you the image, but they aren't the original source. Grabbing a picture from one of these is a huge gamble because any important context, especially the licensing information, has almost certainly been stripped away.
Navigating the Maze of Image Licenses
Once you’ve tracked an image to what looks like its origin, you’ll come face-to-face with its license. This is the legal rulebook spelling out exactly how you can (and can't) use the image, and the terms can vary wildly. If you publish content online, getting a handle on the most common license types is non-negotiable.
Let's break down what you're likely to run into.
Decoding Creative Commons Licenses
You’ll see the term Creative Commons (CC) a lot. It’s a fantastic non-profit that provides free, easy-to-understand copyright licenses. Creators use them to grant the public permission to share and use their work under specific conditions. But don't mistake "free" for a free-for-all. Every CC license has rules.
Here are the core components you absolutely need to know:
- BY (Attribution): This is the foundation of all CC licenses. You must give credit to the original creator.
- SA (ShareAlike): If you remix, transform, or build upon the material, you must distribute your contributions under the same license as the original.
- NC (NonCommercial): This is a big one for businesses. You cannot use the image for commercial purposes—no ads, no product packaging, no company websites.
- ND (NoDerivatives): You cannot alter the image. At all. No cropping, no filters, no adding text.
For instance, a CC BY-NC license means you can use the image for free, but you have to credit the artist and you can't use it for anything that makes money. A CC BY license, on the other hand, is much more flexible, allowing commercial use as long as you provide that all-important attribution.
I once saw a startup use a stunning landscape photo on their homepage, assuming its CC license was all-clear. Unfortunately, it was a CC BY-NC license. The photographer found it, and the company had to scramble to redesign its entire homepage and settle with the creator to avoid a lawsuit.
Stock Photo Licenses: Royalty-Free vs. Rights-Managed
Stock photo sites like Adobe Stock or Shutterstock are popular for a reason—they offer high-quality, properly licensed images. But even here, not all licenses are created equal. You’ll mainly deal with two types: Royalty-Free and Rights-Managed.
| License Type | How It Works | Best For |
|---|---|---|
| Royalty-Free (RF) | Pay a one-time fee, and you can use the image multiple times across various projects without paying again. | General marketing, like blog posts, social media, and internal presentations where you need flexibility. |
| Rights-Managed (RM) | License the image for a very specific purpose—one ad campaign, for a set time, in a specific country. | High-profile, exclusive uses like billboards, national TV ads, or book covers where you can't risk a competitor using the same shot. |
Here’s a critical point that trips people up constantly: Royalty-Free does not mean free of cost. It just means you don’t pay ongoing royalties for each use. Rights-Managed licenses are more restrictive and usually more expensive, but they offer exclusivity. Always, always read the fine print on the stock site before you click "download."
A Real-World Tracing Scenario
Let’s walk through a quick example. You find a fantastic photo of a bustling city street on a marketing blog. Your reverse image search points you to a few aggregator sites and, thankfully, a photographer’s portfolio on Flickr.
Your first move? Ignore the aggregators and head straight for the Flickr portfolio. There, you find the photo listed with a CC BY-ND 2.0 license.
This immediately tells you two crucial things:
- You can use it for your business blog (commercial use is permitted).
- You must credit the photographer, and you cannot crop it or slap your logo on it.
By following the trail back to the source and taking a minute to understand the license, you can now use that image confidently and legally. This methodical process—combining digital tools with careful license verification—is the key to protecting yourself from infringement and respecting the work of creators.
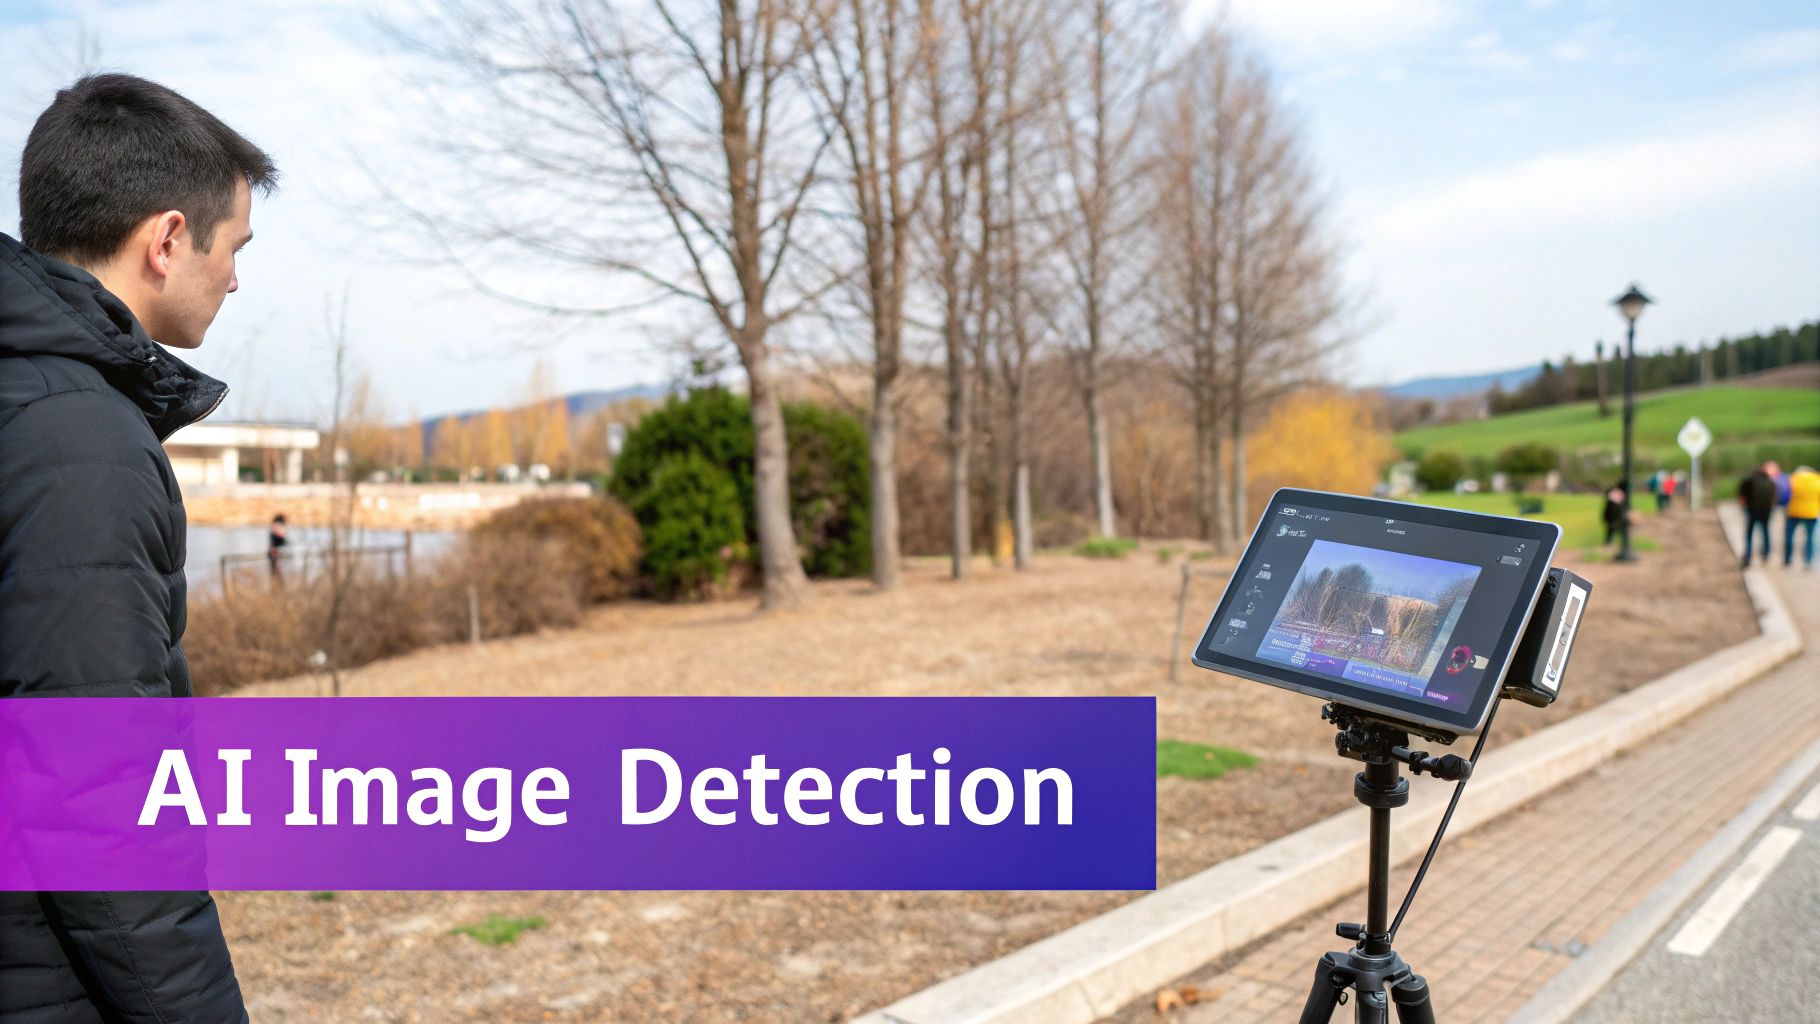
Weeding Out AI-Generated Images in Your Workflow
The whole conversation around image copyright just got a lot more complicated thanks to artificial intelligence. AI generators can spit out incredibly realistic visuals in seconds, but they've also thrown us into a legal gray area. These images often have no clear human creator, can mimic copyrighted styles, and sometimes straight-up replicate existing work. This makes a solid image copyright checker process more important than ever.
Adding an AI image detector to your verification process isn't just a "nice-to-have" anymore; it's essential. These tools are built to analyze an image for the tiny, almost invisible artifacts that AI models leave behind. This is your best defense against using synthetic media that could be part of a misinformation campaign or an attempt to pass off AI art as human-created.
Running this check upfront helps you understand an image's real origin before you even think about licensing. It’s a simple step that can save you a world of trouble down the line.
How AI Image Detectors Do Their Thing
So, what's happening under the hood? Unlike a reverse image search that scours the web for copies, an AI detector looks inside the image file itself. It’s trained on massive datasets filled with both real photographs and millions of AI-generated examples. Through this process, the algorithm learns to spot the unique digital fingerprints left behind by synthetic creation.
Think of it as digital forensics. The tool is programmed to find the tell-tale giveaways that our eyes would almost certainly miss.
When you upload an image, you won't get a simple "yes" or "no." Instead, the detector gives you a confidence score, usually as a percentage, representing the likelihood that the image is AI-generated. A 95% "Likely AI" score is a pretty strong signal, whereas a score hovering around 50% is more ambiguous—it could mean a human photo was just heavily edited with AI tools.
What Do These Confidence Scores Actually Mean?
That confidence score is your key piece of data, but it’s useless without context. You need to know how to translate those numbers into a real-world decision.
Here’s a practical breakdown of the results you'll get from a tool like ours:
- High AI Score (85%-99%): This is a red flag. The detector has found multiple artifacts consistent with current AI models. At this point, you should assume the image is synthetic unless you have concrete proof of its human origin.
- Medium AI Score (50%-84%): Welcome to the gray zone. This could be an image made by an older or less common AI model. Or, it might be a real photo that’s been aggressively edited or upscaled with AI. More digging is definitely required here.
- Low AI Score (Below 50%): The tool found few, if any, signs of AI generation. This strongly suggests the image is human-made, though it doesn't completely rule out minor AI touch-ups.
This part of the process is only going to get more crucial. The global AI detector market, which includes these tools, was valued at USD 453.2 million and is expected to explode to USD 5,226.4 million by 2033. That growth shows just how vital content verification is becoming.
Interpreting an AI detection score is really about risk assessment. A high score doesn't automatically mean "don't use it," but it absolutely means "don't use it without confirming its origin and license"—something that's often impossible with AI content.
Training Your Own Eyes to Spot the Fakes
While you should always rely on a good tool for the heavy lifting, it's incredibly useful to train your own eyes to spot the common giveaways of AI. Knowing what to look for can help you make a quick initial judgment call. After a while, you start to get a feel for it.
Keep an eye out for these tell-tale signs:
- Unnatural Textures: Skin that looks too smooth, almost like plastic, is a classic. The same goes for surfaces like wood or fabric that have a weirdly perfect or repetitive pattern.
- Weird Lighting and Shadows: Look for shadows that fall in the wrong direction or light sources that seem to hit objects in an illogical way.
- Messed-Up Details: AI still famously struggles with the fine details. Hands are a big one—look for extra fingers or strange proportions. Teeth, text, and intricate patterns like jewelry are other common weak spots.
- Strange Blending or Warping: Check the background carefully. You'll often see objects that seem to melt into each other nonsensically or straight lines that have bizarre distortions.
Getting familiar with the output of tools like an AI meme generator can also sharpen your detection skills, as you'll see firsthand the kind of artifacts they produce. Making this check a standard part of your workflow is another layer of protection. For a deeper dive, check out our dedicated article on detecting AI-generated images.
Grappling with Fair Use and Why You Need a Paper Trail
So, what happens when you’ve done your homework and found an image is copyrighted, but you still think you have a legitimate reason to use it? This is where the tricky concept of fair use enters the picture. It’s a legal principle that allows limited use of copyrighted material without getting permission, but honestly, it’s one of the most misunderstood parts of copyright law.
Fair use is not a free pass. Think of it as a nuanced legal argument you might have to make, not a set of clear-cut rules. It's a balancing act, where a court weighs the public’s interest in accessing creative works against the creator's rights. To figure out where you stand, you need to consider four key factors.
The Four Factors of Fair Use
There’s no magic formula here; courts look at all four factors together to get the full picture. You need to be brutally honest when you assess your own situation against these criteria.
- The Purpose and Character of Your Use: Are you using it for a commercial venture or for a nonprofit, educational purpose? More importantly, is your use transformative? A transformative work adds something new, like using a photo in a collage or a movie clip in a critical review. Just reposting a cool picture on your company's blog? That’s not transformative, and it definitely works against a fair use claim.
- The Nature of the Original Work: Is the original image a highly creative piece of art, or is it more factual, like a photo from a news event? It’s generally easier to make a fair use case for factual works than for purely imaginative ones.
- The Amount You've Used: Did you grab the entire photo, or just a small, necessary snippet? Using a whole high-resolution image is much harder to defend than using a small, cropped portion to make a specific point in an article.
- The Effect on the Market: This is often the big one. Does your use of the image hurt the original creator's ability to make money from their work? If people can get the image from you instead of buying or licensing it from the owner, you’re almost certainly not covered by fair use.
For instance, a professor using a copyrighted photograph in a classroom presentation on photojournalism might be a solid case for fair use. But if you take that same photo and slap it on a t-shirt you plan to sell, that’s a commercial use that directly competes with the photographer's market—a clear copyright violation.
Meticulous Documentation: Your Best Defense
Because fair use is a subjective legal defense—not a guaranteed right—you can still get hit with a lawsuit even if you’re confident your use is fair. The absolute best way to protect yourself is to keep a detailed record of every step you took. This "due diligence" file proves you acted in good faith and can be a lifesaver if your use is ever questioned.
This isn’t just theoretical. We're seeing a huge spike in copyright lawsuits, especially against AI companies, with artists claiming billions in damages for images used in training data. It just goes to show how high the stakes have become.
A solid due diligence file is your proof that you didn't just carelessly grab an image. It shows you have a system for respecting copyright. For more on this, check out our practical guide on preventing copyright violations in your content workflow.
Here’s what your documentation should always include:
- Screenshots of Reverse Image Searches: Save the results pages from Google Images, TinEye, or other tools. Make sure to capture any information about where and when the image first appeared online.
- License and Source Info: Keep a record of the exact webpage where you found the image. Screenshot the page and any license terms (like a Creative Commons license) associated with it.
- AI Detector Results: Save a copy of the report or a screenshot of the confidence score from your AI image detection check.
- Communication Attempts: If you tried to contact the creator for permission, keep copies of those emails or contact form submissions. This is valuable evidence, even if you never heard back.
Following these steps transforms your process from a quick check into a robust, defensible workflow.
So, What Do You Do With Your Findings?
You’ve done the detective work. You’ve run the reverse image search, dug into the metadata, and have a good handle on whether the image you want to use is copyrighted, free, or something in between. But that information is only useful if you act on it correctly. This is where your research turns into a real-world risk management strategy.
Depending on what you found, you'll head down one of a few different paths. Getting this part right is what separates a savvy creator from one who gets a nasty cease-and-desist letter.
Scenario 1: The Image Is Fully Copyrighted
If you see that familiar "All Rights Reserved" notice, it means the creator holds all the cards. This is the most restrictive situation, but it doesn't have to be a dead end. If this is the perfect image for your project, your only real option is to ask for permission.
Here’s how to approach it professionally:
- Find the Right Contact: Scour the creator’s website or portfolio for an email, a contact form, or a link to their licensing agent.
- Write a Crystal-Clear Request: Don’t be vague. Your message should clearly state which image you want to use, exactly how and where it will appear (e.g., "on a blog post about travel in Italy for one year"), and the duration of use. Ambiguous requests usually end up in the trash.
- Prepare for a Fee: The owner will likely ask for a licensing fee. Know your budget and be ready to negotiate the terms. Sometimes, you just have to be prepared to walk away.
And one crucial tip: never assume silence means yes. If you don't get explicit, written permission, using that image is a clear-cut infringement.
Scenario 2: You're Dealing with Specific Licensing Terms
Finding a Creative Commons or other royalty-free license is great, but it’s not a free-for-all. This is where a lot of people mess up—they see "CC license" and think they can do anything they want. The key is to follow the rules attached to that license to the letter.
Most often, this means providing proper attribution. A good credit line isn’t just a nice thing to do; it’s a legal requirement.
A proper attribution needs to include four key things: the title of the image, the creator's name, a link back to the source, and the specific license type (like CC BY-SA 4.0). Simply sticking it in tiny, unreadable font at the bottom of your website won't cut it.
For instance, a solid attribution looks like this: “Brooklyn Bridge at Dawn” by John Creative is licensed under CC BY 2.0.
That one simple sentence fulfills your legal obligation and shows respect for the creator's work.
This decision tree helps visualize the thought process for figuring out how to proceed based on your intended use and the image's copyright status.

As you can see, every use case—whether it’s for a commercial ad or a school project—demands a careful look at its legal standing.
Scenario 3: You Find Someone Using Your Work
Sometimes the shoe is on the other foot. You might run a check and discover that someone else is using your creative work without your permission. It’s frustrating, but the best response is a calm and methodical one.
Your first move is usually to send a DMCA (Digital Millennium Copyright Act) takedown notice. This is a formal request sent to the platform or web host where your content is being used illegally.
A valid DMCA notice needs to include:
- Your contact details.
- A link to, or specific description of, your original copyrighted work.
- The exact URL where the infringing content is located.
- A statement confirming you own the copyright and that the use is unauthorized.
Taking these steps turns this guide from a simple "how-to" into a complete playbook for handling image rights correctly and protecting yourself from legal trouble.
Don't leave your content's integrity to chance. The AI Image Detector provides the instant analysis you need to verify an image's origin, giving you the confidence to make smart, safe decisions. Get your free analysis now.
