
Is This Image Photoshopped? Your Guide to Spotting Fakes
Before you fire up any fancy software, your first and best tool for sniffing out a doctored image is your own two eyes. Seriously. If a picture just feels a little off, there's a good chance your brain is picking up on something that isn't quite right.
The most common giveaways are often subtle clues that defy the basic laws of physics—things like wonky lighting, inconsistent shadows, and unnatural-looking edges.
Your First Clue Is Always a Visual Check
Your initial scan doesn't need to be a deep forensic analysis. It's more about looking for red flags that tell you it's time to dig deeper. Our brains are hardwired to recognize patterns, and a manipulated image almost always breaks those patterns in small but significant ways.
Start with the light source. In a real photo, every shadow should fall away from the light in the same direction, and their edges should have a similar softness or sharpness. When someone pastes a new object into a scene, getting the shadow right is incredibly difficult. Is it pointing in the wrong direction? Is it too crisp or too blurry compared to everything else? These are the dead giveaways.
Scrutinizing the Details
Now, zoom in and pay close attention to the edges of people and objects. When something is cut out and plopped onto a new background, the borders often look too sharp, a bit fuzzy, or might even have a faint "halo" around them.
Also, scan for weird textures or repeating patterns. This is a classic sign of the "clone stamp" tool in action, where an editor has copied one part of the image to cover up something else.
Perspective is another big one. Do the lines of the objects seem to converge in a way that makes sense? If a person seems to be standing at a bizarre angle compared to the floor or the furniture around them, it's a huge sign they weren't actually in the room when the photo was taken.
These little inconsistencies start to add up, creating a general sense of artificiality that’s hard to shake. Want to test your skills? Take a close look at this image example and see what you can spot.
The diagram below breaks down a simple, three-part process for this initial visual gut check.
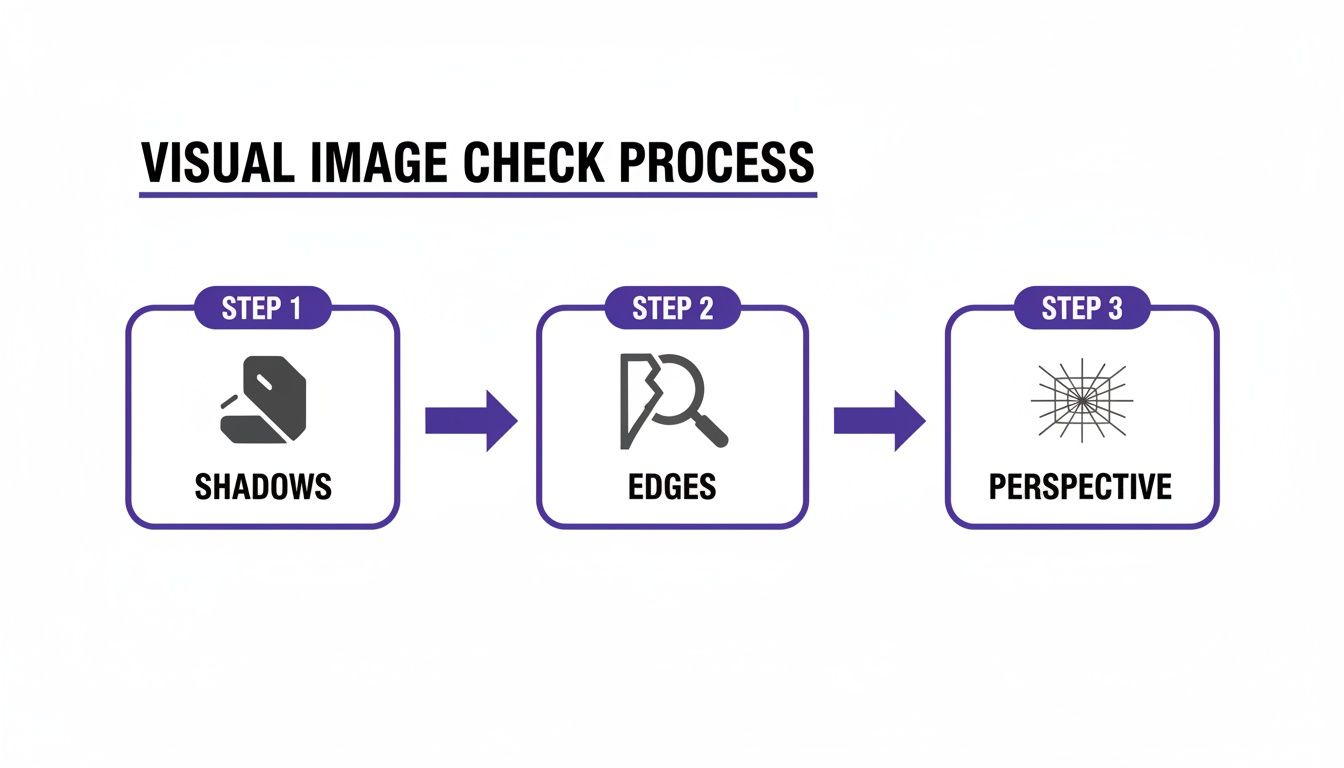
This quick mental checklist can save you a ton of time by helping you focus your efforts on the images that truly warrant suspicion. Here's a quick summary of what to keep an eye out for.
Quick Visual Checklist for Spotting Manipulations
| Visual Cue | What to Look For |
|---|---|
| Shadows | Inconsistent direction, sharpness, or length compared to other objects in the scene. |
| Edges | Unnaturally sharp or blurry outlines, glowing halos, or pixelation around a person or object. |
| Perspective | Objects or people that look out of scale or are angled incorrectly relative to the background. |
| Lighting | Light on a subject that doesn't match the main light source in the environment (e.g., warm light on a face in a cool-lit room). |
| Reflections | Missing or distorted reflections in surfaces like mirrors, windows, or water. |
| Texture & Grain | Areas that are too smooth, too noisy, or have repeating patterns that indicate cloning. |
This kind of visual literacy is more important than ever. In a recent real-world case, a host on a rental platform tried to claim damages by submitting photos of a supposedly "cracked" coffee table. The guest, however, noticed slight differences between the images that proved the "crack" was digitally added later.
You can learn more about how experts tell the difference by comparing a real vs fake photo in our detailed guide. Cases like that one show just how powerful a trained eye can be as the first line of defense against digital fakes.
Digging Into an Image's Digital Footprint
Every digital photo carries more than just the pixels you see. Tucked away inside the file is a hidden layer of information called EXIF (Exchangeable Image File Format) data. Think of it as a photo's digital birth certificate, recording a ton of details the moment the shutter clicks. For anyone trying to figure out if an image is real or doctored, this metadata is a goldmine.

It’s often the first place I look when I have doubts about a picture. This data can tell a story that establishes the image’s origin and history, offering concrete clues that go way beyond a simple visual check.
What the Metadata Tells You
When you pop the hood and look at an image's metadata, you’re searching for a story that makes sense. A genuine photo, fresh from a camera, usually has a complete and logical set of information attached to it.
Here are some of the key details you can uncover:
- Camera Details: The make and model of the camera or phone (e.g., iPhone 14 Pro, Canon EOS R5).
- Capture Settings: The technical stuff, like aperture, shutter speed, ISO, and focal length.
- Date and Time: An exact timestamp of when the photo was taken.
- GPS Coordinates: If location services were on, you might get the precise spot where the picture was taken.
- Software History: The name of the program that last saved the file.
The most obvious giveaway? Seeing “Adobe Photoshop” listed in the software field. That’s a direct confirmation that the image has been through an editor, instantly answering the "is this photoshopped?" question.
Pro Tip: Don't just look for what's there; look for what's missing. Stripped or completely absent metadata is a huge red flag. Manipulators often scrub this data to hide their work, so if a critical image has no history, be very suspicious.
How to Check the Data Yourself
You don't need to be a digital forensics specialist to access this info. It's surprisingly easy.
On a Windows PC, just right-click the image file, select "Properties," and head to the "Details" tab. If you're on a Mac, open the image in Preview, click "Tools," and then "Show Inspector." The data will be right there.
Another fantastic option is to use a free online EXIF viewer. You just upload the image, and the tool lays out all the hidden properties for you. They’re perfect for a quick, down-and-dirty assessment of an image's history.
For anyone serious about this stuff, learning how to properly check the metadata of a photo is a non-negotiable skill. It adds a layer of hard evidence to what your eyes are telling you, giving you a much more complete picture of an image’s journey from camera to screen.
Using Reverse Image Search to Find the Source
When your eyes and the metadata leave you with more questions than answers, it's time to pull out one of the most powerful tools in any digital sleuth's toolkit: reverse image search.
Instead of typing words to find pictures, you’re using a picture to find its history across the web. This is about digging into an image's digital footprint to see where it's been and, more importantly, where it came from.

You're not just looking for duplicates. You’re uncovering an image’s origin story—where it first appeared, how its meaning has shifted over time, and whether the version you have is the original article.
Uncovering the Original Context
Tools like Google Images and TinEye are my go-to starting points. When you upload the image in question, you get an instant map of where else it lives online. The trick is to sort those results by date to pinpoint the earliest known instance.
This chronological trail is where the magic happens. A viral photo claiming to show a recent political rally can be debunked in seconds if a reverse search shows it was actually taken at a concert five years ago in another country. Context is everything.
You're essentially hunting for a few key clues:
- The Original Source: Did it come from a reputable news agency, a stock photo site, or someone's personal blog? The source says a lot.
- The First Appearance: Finding the oldest version gives you a baseline for what the image should look like.
- Different Versions: As you compare the image across different sites, you might spot versions that are cropped, mirrored, or have different color grading.
A common misinformation tactic is to pair a real, emotionally powerful image with a completely unrelated event. A quick reverse image search is the fastest way to expose that lie.
Advanced Reverse Search Strategies
Sometimes a simple search won't cut it, especially with heavily doctored images. If you think just one part of the image is fake—say, a person was added to a crowd—try cropping the image to focus only on that person and running a new search. This can help you find the original photo they were lifted from.
The technology for this is always getting better. For a deeper look at how modern tools are pushing this technique forward, check out our guide on AI reverse image search.
By tracing an image's journey across the web, you add a critical layer of verification that helps you confidently answer the question: "Is this image photoshopped?"
Putting AI Image Detectors to the Test
So, you’ve done your initial visual checks and dug into the metadata, but you’re still not 100% sure. This is where you bring in the heavy hitters: AI-powered image detectors. These tools offer a much deeper, more scientific layer of analysis, designed to spot the subtle digital breadcrumbs left behind by editing software—the kinds of artifacts completely invisible to the human eye.
Think of it as digital forensics. These systems can look at the very fabric of an image and help answer that crucial question: "Is this real or manipulated?"
How do they pull this off? It’s all about training. These models have been fed massive datasets containing millions of authentic and manipulated images. Through that process, they learn to recognize the tiny, almost imperceptible signatures left behind by Photoshop or AI generators. It’s like a digital art expert who can spot a single forged brushstroke on a masterpiece.
How AI Detectors See Manipulations
Instead of looking at the big picture, an AI detector scans for specific mathematical and statistical oddities that betray an image's authenticity. This is absolutely critical now, as modern fakes are becoming frighteningly convincing.
Here’s a glimpse at what these tools are hunting for:
- Compression Artifacts: When someone edits a part of an image and re-saves it, that section often ends up with a different compression level than the rest of the picture. This can create subtle blocky patterns or color shifts that an AI can easily flag.
- Pixel-Level Inconsistencies: The detector analyzes noise patterns, color gradients, and lighting across the entire frame. An object copied and pasted into a new scene, for example, will almost certainly have a different noise signature than its new surroundings.
- AI-Generated Fingerprints: Generative models like Midjourney or DALL-E have their own unique, recurring patterns or flaws. AI detectors are specifically trained to sniff out these digital "tells."
The need for this kind of technology is exploding. The number of deepfake files is projected to surge from 500,000 in 2023 to 8 million by 2025. That's a staggering 900% annual growth, a rate that's outpacing every other cyber threat out there.
We humans are simply outmatched; we can only correctly identify high-quality deepfakes 24.5% of the time. You can get more details on these alarming trends from recent deepfake research.
Interpreting the Results from a Detector
Most of these tools, like the AI Image Detector, are designed to be simple. You just drag and drop your image, and the system gets to work.
The screenshot above shows a typical results page. You’ll usually get a clear verdict, like "Likely AI-Generated," along with a confidence score. This score isn't just a wild guess; it’s a statistical probability calculated from all the forensic evidence the AI has pieced together.
Key Takeaway: Pay close attention to the confidence score. A high score (say, 95% Likely AI) is strong evidence of manipulation. A lower or middling score might mean the image has only had minor touch-ups, or the results are simply inconclusive.
Some of the more advanced tools will even give you a "heat map," highlighting the specific parts of the image it finds most suspicious. This kind of visual feedback is invaluable—it can turn a gut feeling into an evidence-backed conclusion, which is exactly what you need if you're a journalist, researcher, or anyone who needs to be certain about the images they use.
Digging Deeper with Forensic Analysis
So, the easy checks didn't give you a clear "yes" or "no." Now it's time to put on your detective hat and dig into the image's digital guts. This is where we stop looking at the picture and start analyzing the data file itself. Think of it like a crime scene—the clues are there if you know where to look.
These more advanced methods can often unearth that definitive proof you need to call out a fake.
Error Level Analysis (ELA): The Digital Fingerprint
One of the most powerful tools in our kit is Error Level Analysis (ELA). The concept is pretty clever. Every time a JPEG image is saved, it loses a bit of quality through compression. ELA takes advantage of this by intentionally re-saving the image and then showing you the difference between the new version and the original.
In an authentic photo, the whole image should have a similar compression history. This means the ELA result will look fairly uniform across the entire picture. But if someone has copied and pasted an element from another image, that pasted section will have a completely different compression history. It’s like a forged signature—it just doesn't match the rest of the document.
When you run an ELA scan, these manipulated areas stick out like a sore thumb, often appearing much brighter or with a different texture than the rest of the image.
What to Look for in an ELA Scan
Think of ELA as a digital X-ray. It lets you see the hidden compression structure beneath the surface.
- Consistent Texture: If the whole ELA result looks uniformly dark or has a consistent noisy texture, the image is likely untouched or was edited uniformly (like a simple filter applied everywhere).
- Glowing Hotspots: This is the big giveaway. If one object or area is glowing significantly brighter than everything around it, that’s a huge red flag. It’s a classic sign that the section was dropped in from another source.
- Clashing Textures: Notice if the background has a soft, smooth ELA texture while a person's face looks sharp and jagged. This mismatch is a dead giveaway that the face was probably pasted onto a different body or background.
My Takeaway: Don't get hung up on the word "error." ELA isn't about finding mistakes. It’s about spotting differences. Those differences in compression levels are the fingerprints the editor left behind.
Chasing Shadows and Light
Another incredibly reliable forensic technique is to scrutinize the lighting and shadows—but with a much more critical eye than a quick glance. In any real photo, every shadow must be consistent with a single light source (or multiple, if it's a complex scene).
You can actually map this out. Draw a line from the edge of an object to the tip of its shadow. Do this for multiple objects in the scene. In a real photo, all those lines should converge on the same point in the sky where the light is coming from.
If your lines are pointing all over the place, you've got a composite image. For instance, if a person's shadow points to a light source on the left, but the shadow of the tree next to them points to the right, the scene is a fabrication.
While our eyes are getting better at spotting obvious fakes, we're still surprisingly easy to fool. This is where specialized AI tools are becoming indispensable. In fact, advanced AI detectors like FUSION++ are reaching new levels of accuracy, achieving a Mean IoU of 0.806 on complex fakes—far better than a human can do. If you want to dive into the technical details, you can check out this recent research on AI manipulation detectors.
These are the kinds of techniques that give you the hard evidence you need to answer the question, "is this image photoshopped?" with confidence.
Tackling Tricky Questions About Photoshopped Images
Even with a solid workflow, some images just refuse to give up their secrets. You can do everything right and still find yourself stuck, wondering if a photo is genuine. Let's walk through some of the most common questions and roadblocks I've encountered over the years.

Think of this as a troubleshooter's guide for when the usual steps don't give you a clear answer.
What if the Metadata Is Missing?
This happens all the time, and honestly, it’s an immediate red flag. While it's true that some social media platforms automatically strip EXIF data for privacy, a complete lack of information on a critical image should set off alarm bells.
People who intentionally manipulate images often scrub the metadata to hide their work. It's the digital equivalent of wiping fingerprints from a crime scene. While its absence isn't concrete proof of a fake, it removes a crucial layer of verifiable history and seriously weakens the image's claim to authenticity. If you hit this wall, your next move should be a deep reverse image search to hunt for older copies that might still have that data intact.
My Personal Take: The more important an image claims to be, the more suspicious its lack of metadata becomes. For a random meme, who cares? But for a photo presented as evidence in a major news story, it’s a huge problem.
How Reliable Are AI Detectors, Really?
AI image detectors are incredibly powerful, but they aren't magic bullets. Their accuracy is a direct result of their training data and just how sophisticated the manipulation is. They’re fantastic at spotting the digital fingerprints left by common AI generators and classic Photoshop tricks.
However, a truly skilled human editor can sometimes create a forgery that fools an algorithm. On top of that, new AI models are popping up constantly, each with a slightly different signature.
This is exactly why you can't rely on a single tool. Think of a detector's result as one strong piece of evidence, not the final verdict. Always back it up with other methods:
- Gut Check: Does the AI's conclusion make sense with what your own eyes are telling you?
- Source Vetting: Does the result fit the context of who posted the image and where you found it?
- Forensic Analysis: Can you find supporting evidence, like weird shadows or bright spots in an ELA scan, that confirms the AI’s finding?
Can a Photo Be Both Real and Photoshopped?
Absolutely. This is probably the most important distinction to understand. Not all editing is malicious or meant to deceive. In fact, nearly every professional photograph you see has been edited in software like Adobe Lightroom or Photoshop.
These standard adjustments usually include things like:
- Color Correction: Making colors pop or fixing the white balance.
- Cropping: Tightening the frame for a better composition.
- Exposure Tweaks: Brightening dark areas or toning down bright spots.
This kind of editing is just standard practice; it doesn't change the reality of what was captured. The problem arises when editing crosses the line into manipulation. This is when someone adds or removes key objects, alters a person's appearance to mislead, or stitches multiple photos together to create a scene that never happened.
So, the question "is this image photoshopped?" is often less about if it was edited and more about why and how.
When your eyes and manual forensic tools aren't enough, you need a tool that sees what you can't. The AI Image Detector provides a fast, powerful analysis to tell you if an image is human-made or AI-generated, giving you the clarity to fight back against misinformation. Get your free analysis now at https://aiimagedetector.com.


